
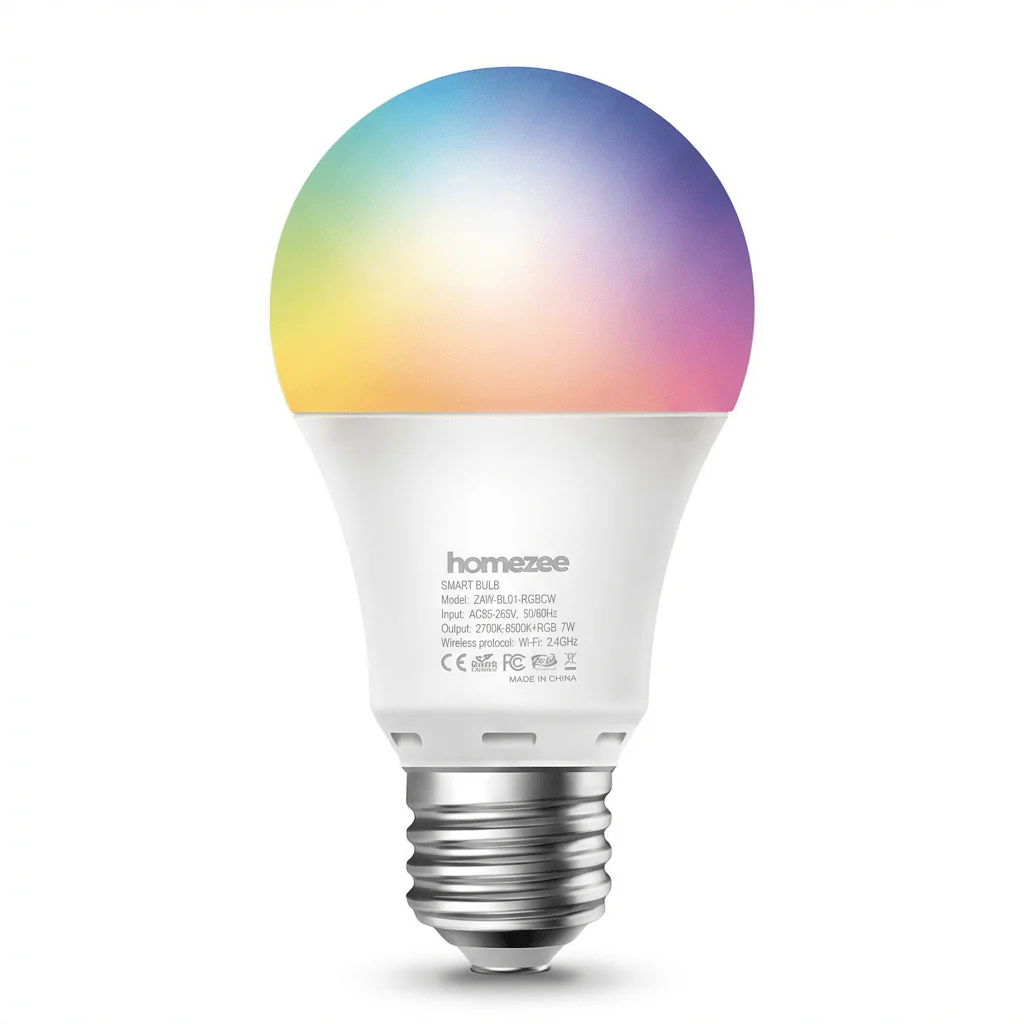
A smart bulb can do much more than simply turn a light on and off. With the right app connection, you can adjust brightness, choose different colors, change the white-light temperature, select lighting modes, and even use music rhythm features. This guide walks you through the setup and everyday use of the Homezee smart bulb based directly on the supplied user manual, so you can get connected with fewer surprises and make better use of the lighting controls.
1. Before You Start: Basic Safety
Before installing or removing the bulb, make sure there is no power to the socket. The manual specifies that the device is for indoor use only and should not be placed where it is exposed to extreme moisture, temperature, or dust. It should not be used in bathrooms or other humid locations. Keep it away from heat sources and direct sunlight, and do not overload wall outlets or extension cords.
The manual also states that there are no user-maintainable parts, so the device should not be disassembled or repaired by the user. These simple precautions are worth checking before you begin the smart setup.
2. Download Smartlife App and Create an Account

The first step is to install the Smartlife app. The manual provides a QR code for downloading the app.
After opening the app, tap the Register button at the bottom of the screen. You can register with either a mobile phone number or an email address. A verification code will be sent to you. Enter that code, create a password, and confirm your registration. Once registration is complete, you are ready to add the smart bulb to the app.
3. Understand the Two Connection Modes
The smart device has two setup modes: Ordinary Mode and AP (Access Point) Mode. Knowing which mode the bulb is in is one of the most important parts of the setup.
In Ordinary Mode, the bulb flashes quickly—once per second. In AP Mode, the bulb flashes more slowly—once every two seconds. The flashing pattern tells you which connection method is currently active.
If the bulb is not in the mode you need, the manual provides a reset and mode-changing procedure. For a bulb, turn the power off and on three times within 30 seconds, allowing the light to turn on before switching it off each time: off-on-off-on-off-on. This changes the connection mode so you can try the setup again.
4. Quick Connection: The Easiest Setup

For the standard setup, make sure the bulb is in Ordinary Mode and flashing once per second. Your phone should also be connected to the Wi-Fi network you want the bulb to use.
Open the app and tap “+” to add a device. Select the appropriate device category, such as Lighting Device. Confirm that the bulb is flashing quickly, then press the orange confirmation button shown in the app.
Next, enter your Wi-Fi password and press confirm. The app will transfer the network information to the smart device. Once the process finishes successfully, the bulb can be controlled through the app.
5. AP Mode: An Alternative Connection Method
If the quick connection method does not work, the manual recommends trying AP Mode. Before starting, make sure the bulb is in standby mode and flashing once every two seconds.
In the app, select AP Mode in the top-right corner and confirm that the bulb is flashing slowly. Enter your Wi-Fi password and press confirm. Then open your phone’s network settings and connect to the device hotspot identified in the manual as “SmartLife xxx.” Return to the app and allow the phone to upload the network information to the device. The manual notes that this process takes about 60 seconds.
AP Mode is therefore a useful alternative when the standard setup cannot establish the connection.
6. Control the Smart Bulb from Your Phone
Once the bulb is connected, the app becomes the main control center. The manual lists several lighting functions.
You can switch the bulb on or off using the power icon. For white light, you can adjust the color temperature from 2700K to 6500K, giving you a range from warmer white to cooler white. This makes it easier to choose a light setting that fits the atmosphere you want.
The app also provides color selection for changing the bulb’s color, different lighting modes, and a Music Rhythm function. Together, these controls allow the same bulb to create different lighting experiences without changing the physical lamp.


7. Connect with Google Home or Amazon Echo
The manual also supports linking the smart device with Google Home or Amazon Echo. After accessing the additional settings in the app, look for the “Use Echo” and “Use Google Home” entries. These options guide you through the corresponding setup process.
This gives you another way to integrate the smart bulb into a connected-home setup, alongside the controls already available in the app.
8. Troubleshooting Common Connection Problems
If the bulb will not connect, start with the basics. Check that the device is powered on and in the correct standby mode. If necessary, use the factory-reset and connection-mode procedure described earlier.
Then check that the Wi-Fi password has been entered correctly. The manual specifically notes that the password is case sensitive. Your phone should also be connected to the same Wi-Fi network you are trying to use for the smart device.
Another important point is Wi-Fi frequency. The manual states that the smart device requires a 2.4GHz Wi-Fi network and does not support 5GHz networks. It also recommends checking that the Wi-Fi signal is strong enough at the device location.
Finally, check your router settings. According to the manual, encryption should be WPA2-PSK and the authorization type should be AES. If the quick connection still fails after these checks, try AP Mode instead.
Conclusion
Setting up a smart bulb becomes much simpler once you understand the flashing indicators and the two available connection methods. Start with Ordinary Mode and the quick connection process, and use AP Mode as the alternative if needed. After connection, the Smartlife app gives you control over power, brightness, white-light temperature, colors, lighting modes, and Music Rhythm.
For the best experience, keep the bulb indoors, use a compatible 2.4GHz Wi-Fi network, follow the reset procedure carefully when changing modes, and keep the supplied manual available for reference. With the initial setup completed, the smart bulb can become a flexible part of your everyday lighting routine.
FAQs
1. Which app do I need to control the smart bulb?
The smart bulb is designed to work with the Smartlife app. You can download the app by scanning the QR code in the user manual.
2. How do I register for the app?
Open the app and tap the Register button. You can register with either a mobile phone number or an email address. Enter the verification code you receive, create a password, and confirm your registration.
3. How do I reset the smart bulb or change its connection mode?
For the bulb, turn the power off and on three times within 30 seconds. Allow the light to turn on before switching it off each time, following this sequence: off-on-off-on-off-on. This changes the connection mode.
4. Does the smart bulb support 5GHz Wi-Fi?
No. According to the user manual, the smart bulb requires a 2.4GHz Wi-Fi network and 5GHz Wi-Fi networks are not supported.
5. Can I connect the smart bulb to Google Home or Amazon Echo?
Yes. The manual provides options called “Use Google Home” and “Use Echo” in the app’s additional settings to guide you through linking the device.